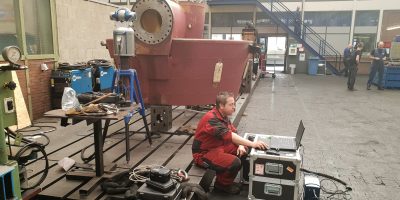
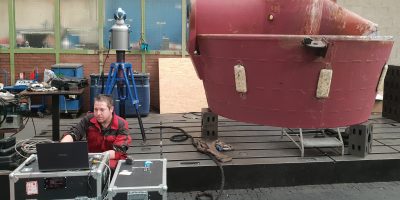
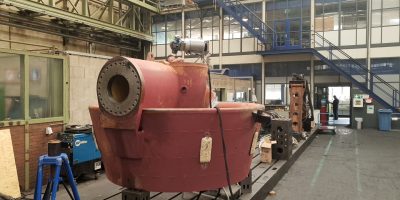
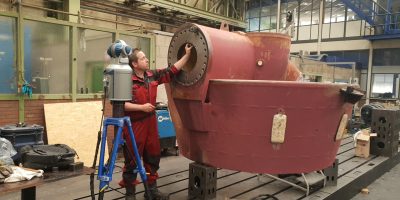
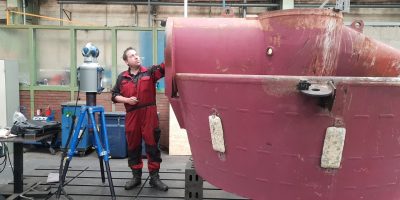
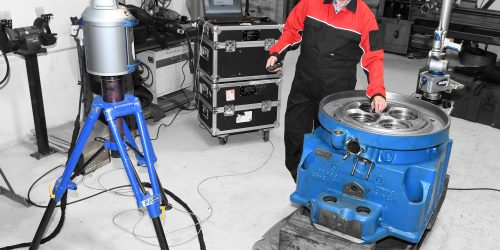
Global Alignment & Engine Service performed a 3D measurement on a thruster. Through this measurement we compared the dimensions and the squareness of the bearing positions from the input shaft and the output shaft with the makers machining drawings and tolerances. The measurements were taken with our Faro Tracker Arm in combination with Cam2measure 10.


